Trek Preparation
Mountain Day Field Guide
How to plan, pace and progress your weekly Mountain Day, and what to do if you have no mountains nearby.

Your Mountain Day builds the trek-specific endurance flat training cannot: sustained hours on your feet, elevation change, and decisions made under fatigue. It is where the rest of your training is tested.
In short: Match the route to the prescribed duration, elevation and pack. Pace by conversation, keep descents controlled, log the session, and turn back early if conditions change.
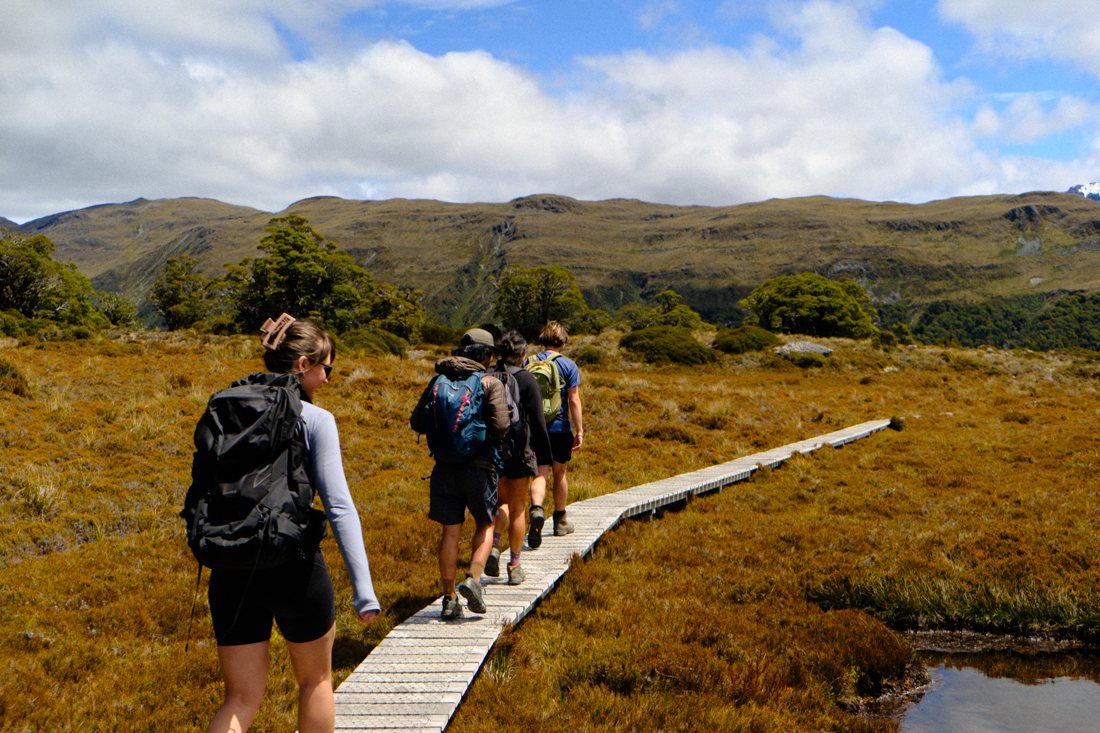
A Mountain Day rehearses the real thing. Peaksted photo archive.
Planning the session
Choose the route by the prescribed duration, elevation gain and terrain. Match the session to what is written, not to the biggest hill nearby.
No mountain access? Use local hills, trails, stairs or an incline treadmill to build equivalent time on feet and elevation gain.
Pace climbs so you can hold a conversation (see Aerobic Pacing), and keep descents controlled with short, stable steps.
Dress, fuel and hydrate for the conditions. Plan your food using Fueling a 6–8 Hour Hiking Day.
Record duration, distance, elevation, pack weight, effort and recovery notes in FITR after every session.
Shorten, substitute or stop if conditions, symptoms or fatigue make the plan unsuitable. A shorter, safer session beats forcing the original plan.
Two different sessions
Longest trek-specific endurance session
Your longest continuous hike of the week, built for time on feet and cumulative endurance at your prescribed pack weight.
Shorter, heavier loaded-pack work
A separate, shorter session that trains pack-carrying capacity directly, sometimes at a heavier load than your longest hike. Do not assume more weight on every long hike is better. Follow what your programme prescribes and see Pack Training & Load Management.
Progressing safely
Change one thing at a time: duration, elevation, pack weight or terrain. Poles can help on descents; a trial of 37 mountain walkers found less muscle soreness at 24 and 48 hours in those using poles. Practise with them on easy ground first. Descents are worth training on purpose: see Strength Training for Hiking.
Back-to-back days
Trekking is many days in a row, so it helps to rehearse walking on tired legs. Once your single long days feel comfortable, add a modest second walk the next day. Judge it by how you eat, recover and move, not by distance alone. Only do this if your programme and recovery support it. See Recovery & Adjustments.
Stay safe
Tell someone your plan, check the weather, carry warm clothing, food, water and a way to call for help, and turn back early. New Zealand’s Mountain Safety Council publishes a well-known Outdoor Safety Code that applies well beyond New Zealand.
An illustrative progression (not a prescription)
Stage | Focus |
|---|---|
Early | Time on feet at a comfortable pace, small pack, moderate hills |
Middle | Longer duration, more elevation, your trek pack weight |
Later | Trek-like day: full pack, food and layers as planned, controlled descents |
Final weeks | Hold steady, then reduce before departure so you arrive fresh |
Turn-back rules to set before you leave
A time you will turn around, whatever the summit looks like.
Weather signs that end the day: worsening wind, cloud, or rain.
How you will feel and what you will do: fatigue, pain, dizziness or confusion means stop and descend.
Who knows your plan, and when to raise the alarm if you are late.
Coach’s tip: decide your turn-back time the night before, and write it on your phone. It is much easier to stick to a rule you made when you were calm.
Frequently asked questions
What if the weather is bad?
Change the day, shorten the route or train indoors. A safe session beats a heroic one.
Do I need poles?
Poles can reduce soreness after descents in some people. Practise with them on easy ground before relying on them.
What if I have no hills?
Use stairs, incline treadmill or repeated laps of the biggest slope you have, adding time on feet gradually.
Last updated September 2026. General education, not medical advice or a personalised prescription. Stop and seek qualified advice if you have sharp, increasing or persistent pain, or a health condition that may affect exercise.
Keep exploring
Research behind the advice
Howatson and colleagues (2011), trekking poles and muscle damage during mountain walking
Knapik, Harman and Reynolds (1996), load carriage using packs
About the author
Nathan Gee is Peaksted’s founder: a sport scientist (BSc Sports Science) with a strength and conditioning background and eight years of coaching experience, focused on hiking and trekking performance. Meet the Peaksted team.
Test your food plan: Use the hour-by-hour trail-food guide on a training day, then scale it with the multi-day food plan if your route has consecutive stages.
RELATED TREK
Explore Peaksted Treks
Ready to put this into practice?
 Next in “Train for your trek”Pack Training & LoadBuild carrying capacity safely, as a percentage of your target.Read next · 4 min →
 Nutrition · 3 minFueling a 6–8 Hour Hiking Day
 Nutrition · 7 minWhat to Eat on a Multi-Day Trek
 Training · 4 minAerobic Pacing

