Hiker moving over a rocky mountain trail

PEAKSTED FIELD GUIDE / STRONGER KNEES / STRENGTH

How to Strengthen Your Knees for Hiking

Seven useful exercises, two complete workouts and a clear way to make them harder.

The short answer. Train the muscles that help you climb, brake and control each step. Begin with a manageable range and load, repeat it well, then progress one demand at a time. Strength does not diagnose or cure knee pain.

Nathan Gee · Peaksted · 6 min read · Updated October 2026

Hiker moving over a rocky mountain trail

THE STRONGER KNEES SERIES

Three guides. One clearer plan.

0 of 3 complete
Strength · You are hereBuild the strength →Seven exercises and two workouts
UnderstandMake sense of downhill pain →Trail adjustments and warning signs
DescendTrain for long descents →A repeatable trail progression

Tick a guide when you have finished it. Progress stays in this browser; the lessons remain open in any order.

01 / WHAT THE TRAIL ASKS

Train the whole job, not just the knee.

The descent often exposes a gap that a flat walk never finds. Your quadriceps slow each step, while hips and calves help you manage balance, terrain and load. These four capacities are a useful training map—not a test of whether a painful knee is safe.

01Quadriceps

Help slow your body on steps down.

02Hips

Control your pelvis and leg on uneven ground.

03Calves

Share work through the ankle and lower leg.

04Movement control

Keep steps deliberate when you are tired.

02 / THE EXERCISE LIBRARY

Choose the version you can repeat well.

You do not need all seven in one session. Swipe or use the arrows to compare them. The Home/Gym switch changes equipment, not the movement's purpose.

1 / 7
EXERCISE 01 / Descent control

Controlled step-down

Starting example · 2 × 6 each leg

Set up: Low, stable step and a handrail

Focus: Lower quietly. Tap the heel; do not drop onto it.

Make it easier
Use a lower step and hold the rail. Stop before your foot drops or your knee feels less controlled.

When to progress
Make six quiet lowers repeatable before changing step height or adding load.

If this version changes your gait or provokes worsening symptoms, reduce the range or load and get individual advice if the problem persists.
See all seven exercises and both equipment options
  1. Controlled step-down · 2 × 6 each leg. Home: Low, stable step and a handrail. Gym: Low box; add a light dumbbell only after control. Lower quietly. Tap the heel; do not drop onto it.
  2. Supported split squat · 2 × 6–8 each leg. Home: Bodyweight, with a wall or rail. Gym: Dumbbells at your sides. Use a comfortable stride and range. Keep the front foot grounded.
  3. Step-up · 2 × 6–8 each leg. Home: Low stair or secure step. Gym: Box and optional light dumbbells. Stand tall through the lead leg. Lower under control.
  4. Wall sit · 2 × 20–30 seconds. Home: Wall; use a shallower knee bend to start. Gym: Wall sit or controlled leg press hold. Choose an angle you can hold without breath-holding.
  5. Calf raise · 2 × 10–15. Home: Both legs, with support. Gym: Standing calf-raise machine or dumbbells. Rise fully; lower slowly without bouncing.
  6. Single-leg hip hinge · 2 × 6–8 each leg. Home: Light fingertip support; shorten the reach. Gym: Light dumbbell in the opposite hand. Keep the pelvis level and the movement small enough to own.
  7. Lateral step-up · 2 × 6 each leg. Home: Low step; use a rail. Gym: Low box with optional light load. Step sideways onto the platform; avoid pushing off the trailing foot.

03 / TWO WORKOUTS

A week you can actually start.

If you already tolerate regular exercise, try these on separate days with at least a day between. Warm up with five minutes of easy walking and a few unloaded reps. Use a comfortable effort that leaves roughly two or three clean repetitions in reserve. The sets below are starting examples, not treatment for knee pain. If you have heart or blood pressure concerns, a joint replacement or another medical condition, check with your GP before starting new exercise.

SESSION A / BUILD

Strength and control

  1. Step-up — 2 × 6–8 each leg
  2. Supported split squat — 2 × 6–8 each leg
  3. Calf raise — 2 × 10–15
  4. Wall sit — 2 × 20–30 seconds

Rest about 60–90 seconds between sets. Finish with enough left for your next walk.

SESSION B / DESCENT SUPPORT

Lowering and balance

  1. Controlled step-down — 2 × 6 each leg
  2. Single-leg hip hinge — 2 × 6–8 each leg
  3. Lateral step-up — 2 × 6 each leg
  4. Calf raise — 2 × 10–15

Use support freely. Move deliberately rather than chasing a higher step.

Keep walking. Gym work builds capacity; it does not teach loose rock, route choice or hours of descending. Add modest outdoor exposure when you can. Use the long-descent guide for that progression.

04 / PROGRESSION

Earn the next step.

1. Control

Find a height and range you can repeat.

2. Repetitions

Reach the top of the range without rushing.

3. Resistance

Add a little load while keeping the same form.

4. Trail transfer

Introduce short descents and monitor the next day.

Hold the current level if next-day walking is noticeably worse. Persistent pain, swelling, locking or giving way calls for assessment, not a harder workout.

How often should I train my knees for hiking?

Two manageable strength sessions a week can be a practical start if they fit your current training. Keep a walking day in the week and adjust strength volume if soreness spills into it.

Are step-downs good for downhill hiking?

They let you practise controlled lowering on one leg. Start with a low, stable step. Trail descending still needs its own gradual practice.

The exercise selection is Peaksted coaching guidance for general hiking preparation. Clinical guidance for patellofemoral pain supports combining hip- and knee-focused exercise, but it is not evidence that this exact workout treats every cause of knee pain. Patellofemoral pain clinical practice guideline.

STRONGER KNEES FOR HIKING / THE PROGRAMME

Want the six-week plan behind these guides?

Stronger Knees for Hiking is a six-week programme: three sessions a week, about 45 minutes each, at home or in the gym. It isn't open yet. Join the waitlist and I'll email you when it opens.

One email when it opens. Unsubscribe any time. Privacy policy.

CONTINUE THE SERIES

Keep building your mountain knowledge.

0 of 3 guides completed. Your next useful read:

Make sense of downhill pain →
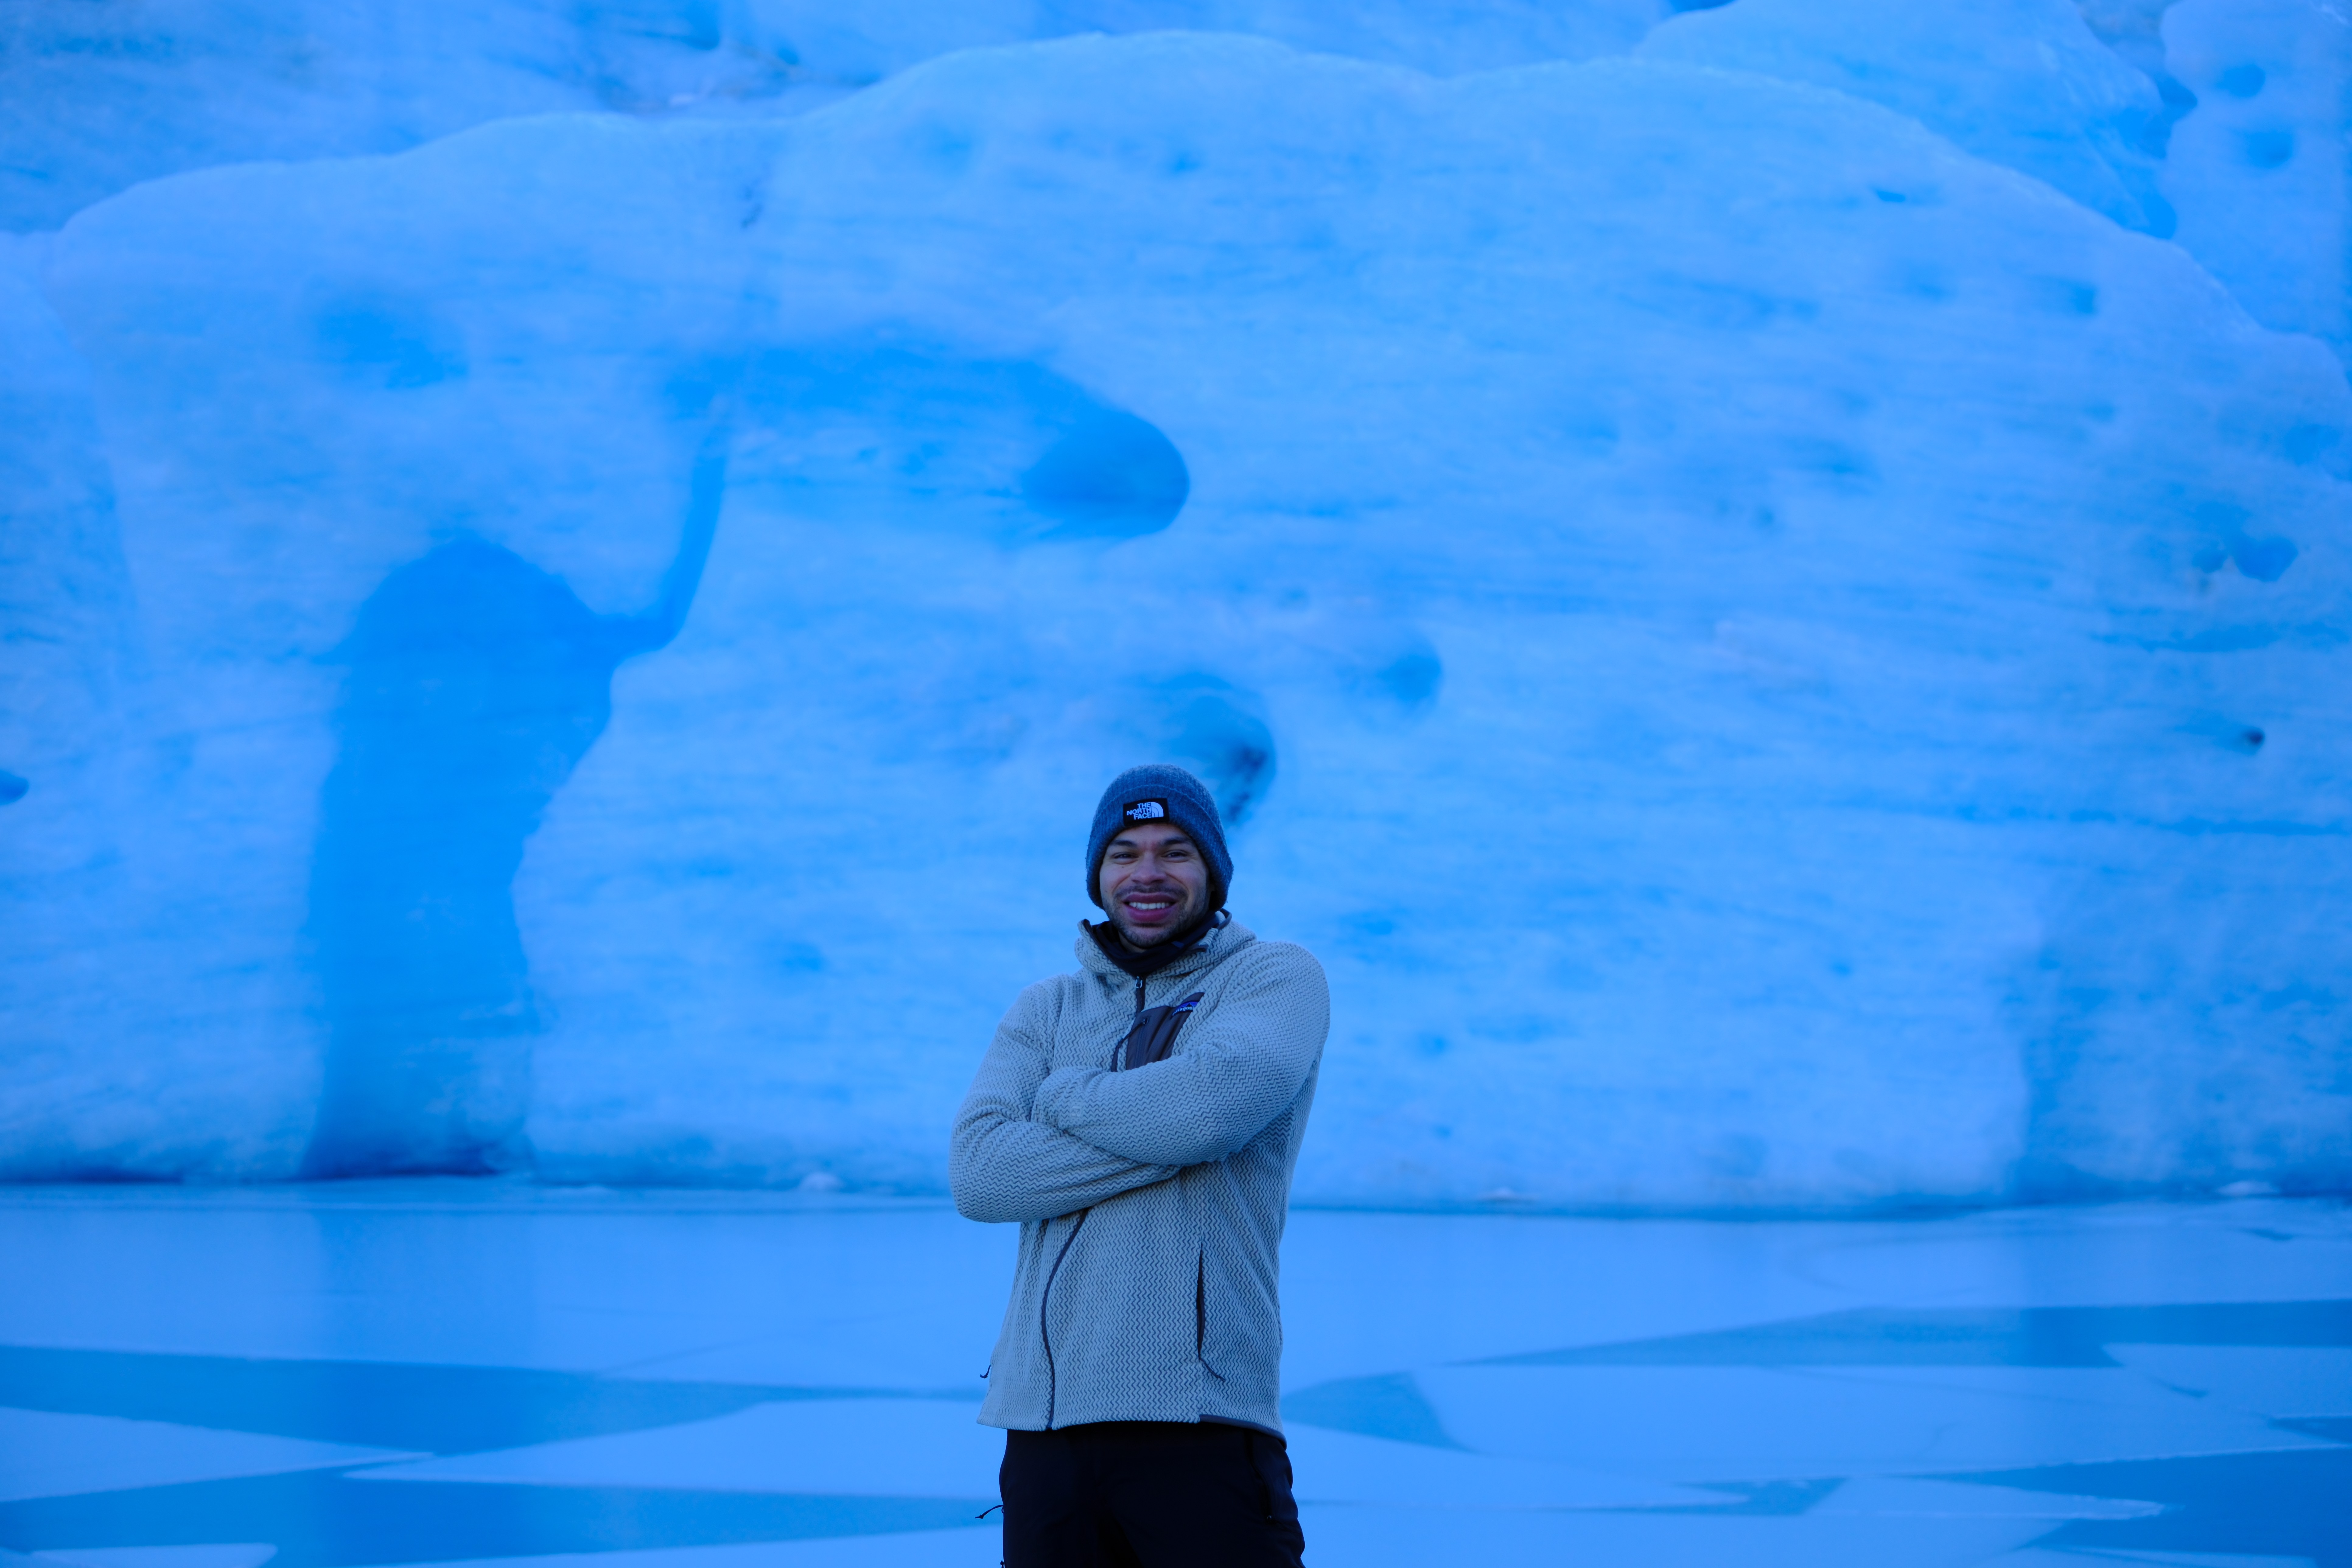
Nathan Gee in front of glacier ice

Nathan Gee · PeakstedFounder and sport scientist. Practical mountain preparation, written for the trail. Meet Nathan → · Part of the seven capacities: downhill durability →
General training education, not individual diagnosis or rehabilitation.

Free readiness check

How ready are you for your trek?

Twelve questions, about three minutes. Pick your trek, see your score and find the one gap worth fixing first.

Check my readiness

Trek-specific preparation for demanding objectives.

Trail Notes

Practical trek training, pacing and field notes for your next objective.

© 2026 Peaksted. All rights reserved.

PREPARE WELL. TREK FAR. RESPECT ALWAYS.

Trek-specific preparation for demanding objectives.

Trail Notes

Practical trek training, pacing and field notes for your next objective.

© 2026 Peaksted. All rights reserved.

PREPARE WELL. TREK FAR. RESPECT ALWAYS.

Trek-specific preparation for demanding objectives.

Trail Notes

Practical trek training, pacing and field notes for your next objective.

© 2026 Peaksted. All rights reserved.

PREPARE WELL. TREK FAR. RESPECT ALWAYS.