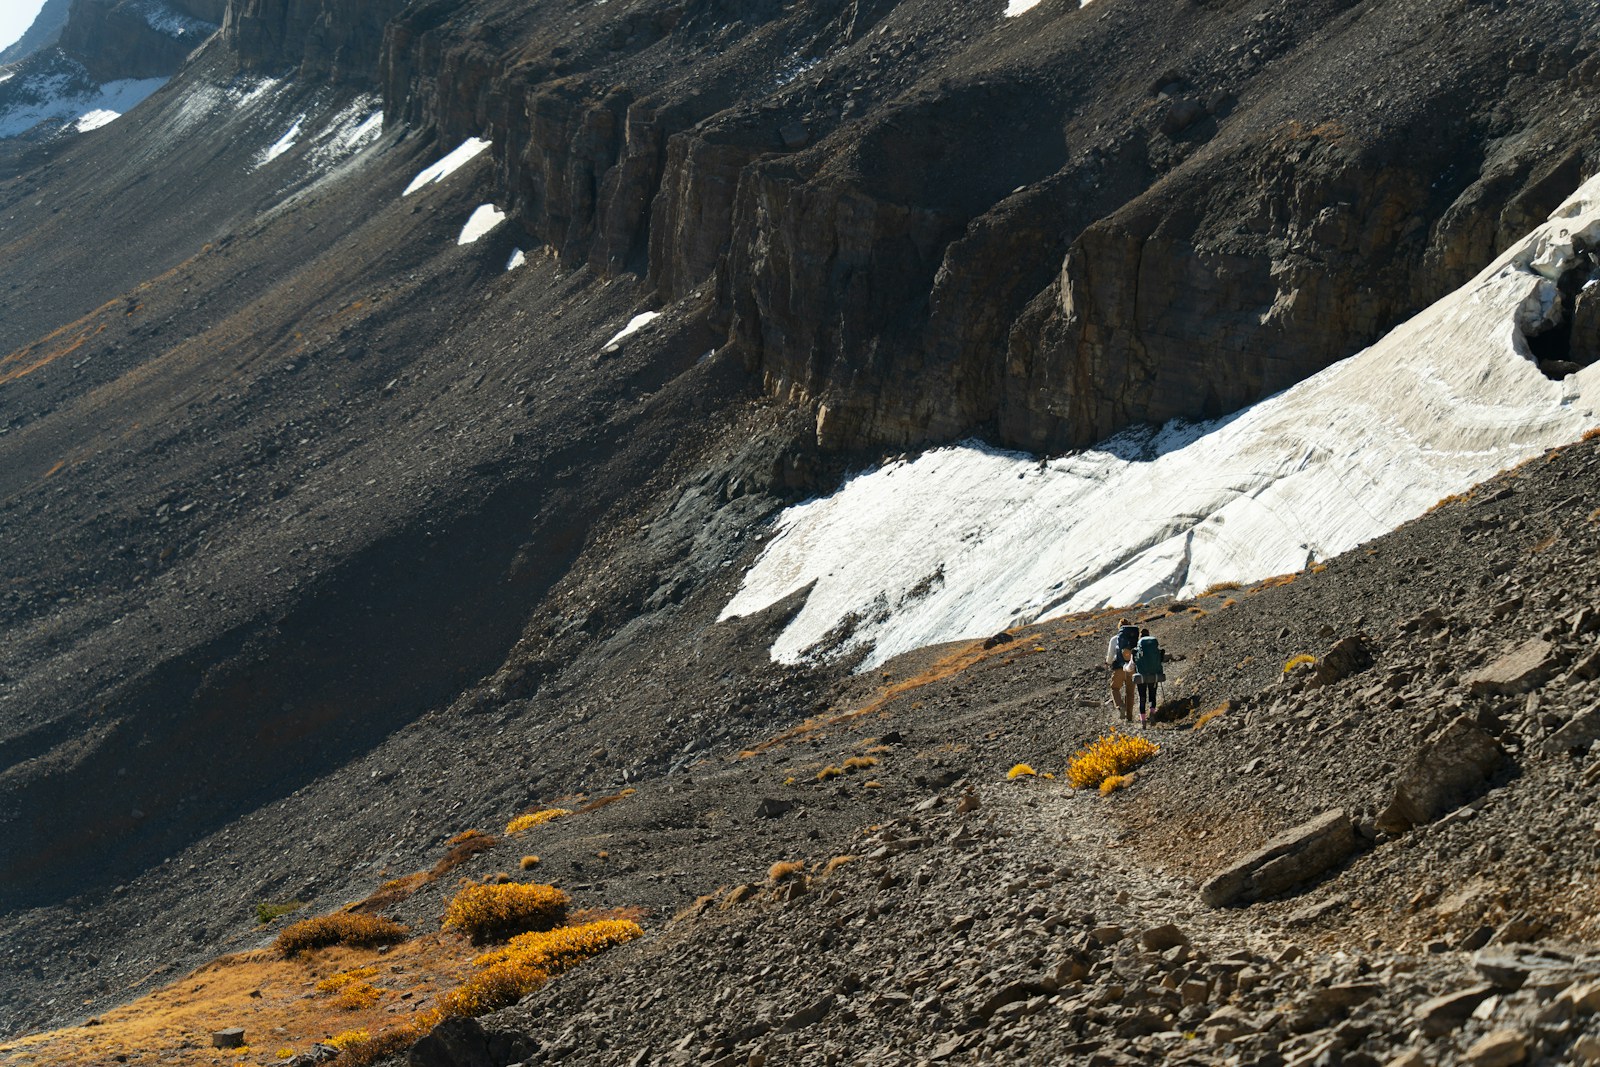
Lone hiker on a rocky mountain trail

STRENGTH FOR THE MOUNTAINS / TRAIN AT HOME

Strength Training for Hiking at Home

No gym required. Build the strength your trail will ask for.

You can start building hiking strength at home. A stable step, your own bodyweight and a securely packed backpack cover more than you might think; bands are useful but optional. Keep walking too. That is where you find out whether the strength work is helping.

Lone hiker on a rocky mountain trail

01 / WHAT YOU NEED

Use the kit you have. Keep the movement's job.

At home, the challenge is finding enough resistance without losing control. Squats, split squats and step-ups build leg work; a push and pull balance the upper body; carries and anti-rotation work build control under load. Start with a safe version you can repeat.

01Bodyweight

Start with a squat, split stance, push-up variation and trunk hold.

02Stable step

A purpose-built step or secure stair lets you practise climbing. Use a rail when needed.

03Backpack

Pack it evenly and close it securely before squats, hinges or carries.

04Bands

Useful for rows, presses and anti-rotation work when anchored safely.

05Optional dumbbells

Helpful when bodyweight and a backpack no longer provide enough resistance.

Safety first. Use a stable step and secure anchor. Do not balance on furniture or improvise a heavy overhead load. If you cannot make a setup stable, choose another exercise.

02 / TRAIN WITH WHAT YOU HAVE

Choose your equipment.

Each option gives you a useful full-body starting menu. Pick one setup today; you can swap exercises when your equipment changes.

Bodyweight exercises for hiking

Start with control before adding load.

Squat to a stable bench2 × 6–10

How: Keep feet planted; sit back lightly and stand without bouncing.

Progress: Lower the bench only when you can control the full range.

Supported split squat2 × 6–8 / leg

How: Hold a rail; lower smoothly through a comfortable range.

Progress: Reduce hand support or add a small amount of load.

Incline push-up2 × 6–10

How: Use a stable bench or wall; keep your body in one line.

Progress: Lower the incline as control improves.

Prone W raise2 × 8–12

How: Lift your arms gently without shrugging or arching your lower back.

Progress: Pause briefly at the top before adding repetitions.

Side plank2 × 15–30 sec / side

How: Keep hips stacked and breathe normally.

Progress: Extend the hold only while your trunk stays level.

03 / TWO HOME WORKOUTS

Make two sessions fit your week.

These are examples for someone already tolerating regular exercise. Warm up with five to eight minutes of easy walking and a few unloaded repetitions. Do A and B on separate days, leaving room for your longest walk. Aim to finish each set with two or three clean repetitions left; start with one set if needed.

A / Foundation

Full-body control with bodyweight and a secure backpack

  1. Squat to bench or backpack squatKeep feet grounded; stand smoothly.Progress: Add reps before load.
    2 × 6–10Rest 75 sec
  2. Supported split squatLower steadily; use a rail if needed.Progress: Increase range before adding load.
    2 × 6–8 / legRest 60 sec
  3. Incline push-upKeep body aligned and shoulders comfortable.Progress: Lower the incline.
    2 × 6–10Rest 60 sec
  4. Loaded carryWalk naturally and breathe.Progress: Add time before weight.
    2 × 20–40 secRest 60 sec

B / Strength & stability

Hinge strength, upper-back work and trunk control

  1. Backpack hip hingeMove hips back; keep pack close.Progress: Increase load only with the same control.
    2 × 6–10Rest 75 sec
  2. Low step-upUse a secure step and lower gently.Progress: Add height or load, not both.
    2 × 6–8 / legRest 60 sec
  3. Band row or prone W raiseKeep shoulders relaxed and return with control.Progress: Increase band tension gradually.
    2 × 8–12Rest 60 sec
  4. Pallof press or side plankKeep the trunk quiet while breathing.Progress: Increase hold or tension gradually.
    2 × 8–10 / side or 20 secRest 45 sec

If you have no band, use a controlled prone W raise in B for upper-back work. If you have no suitable step, replace step-ups with a supported split squat. Keep the exercise's purpose and choose the safe version.

PEAKSTED / TREK READY

A living-room workout is a start. The trek needs a week.

The two sessions above get the strength work moving. You still need walks, recovery and practice with the terrain and pack your route demands. Trek Ready brings strength, aerobic work, climbing and descending preparation, pack practice and Mountain Days into an eight-week programme.

  • Base and Summit tracks: four or five weekly sessions
  • Home and gym exercise options
  • Progression and tracking through FITR
Explore Trek Ready

04 / KEEP PROGRESSING

How to get stronger with limited kit.

01 / Own the movement

Use a range and speed you can repeat without losing balance or alignment. Track what you did.

02 / Change one demand

Add a few clean repetitions, then range, leverage or modest resistance. A slower descent can help control, but endless high reps are not the same as greater strength.

03 / Notice the limit

When an exercise is easy at the top of its range and you have no way to challenge it safely, more resistance may help. Keep outdoor climbing and descending in your plan.

Where home strength stops. A living-room session does not reproduce hours on your feet, uneven ground or your full trek pack. Build those demands gradually outdoors when you can.
Can I train for a demanding trek without a gym?

You can build a useful base at home, especially with a stable step, a secure backpack and bands. Whether it is enough for a particular objective depends on your starting point, route demands and the resistance you can add safely.

What if bodyweight exercises stop feeling difficult?

First check range, control and balance. Then add suitable load or choose a harder variation. If equipment becomes the limit, use gym resistance or seek guidance instead of adding endless repetitions.

Free readiness check

How ready are you for your trek?

Twelve questions, about three minutes. Pick your trek, see your score and find the one gap worth fixing first.

Check my readiness

Trek-specific preparation for demanding objectives.

Trail Notes

Practical trek training, pacing and field notes for your next objective.

© 2026 Peaksted. All rights reserved.

PREPARE WELL. TREK FAR. RESPECT ALWAYS.

Trek-specific preparation for demanding objectives.

Trail Notes

Practical trek training, pacing and field notes for your next objective.

© 2026 Peaksted. All rights reserved.

PREPARE WELL. TREK FAR. RESPECT ALWAYS.

Trek-specific preparation for demanding objectives.

Trail Notes

Practical trek training, pacing and field notes for your next objective.

© 2026 Peaksted. All rights reserved.

PREPARE WELL. TREK FAR. RESPECT ALWAYS.

CHECK YOUR READINESSFree · about 3 minutes